
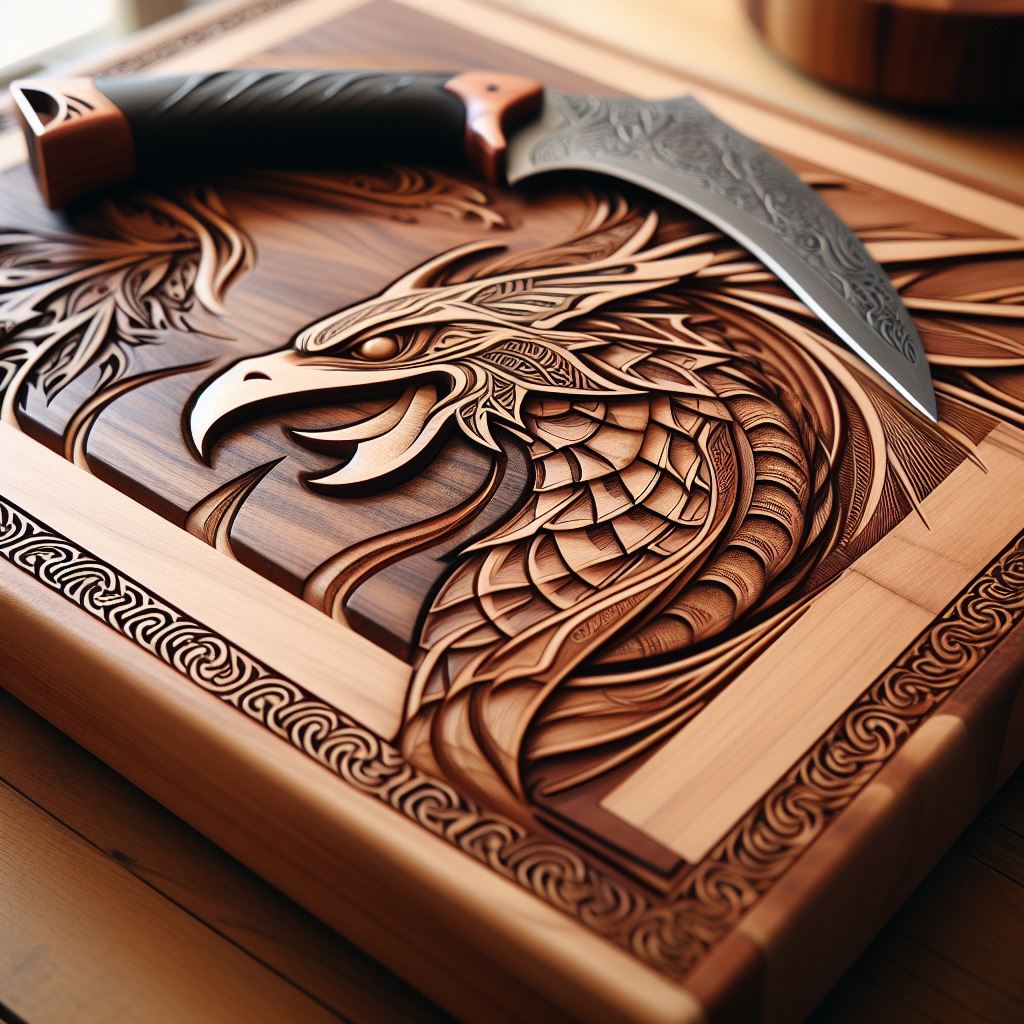
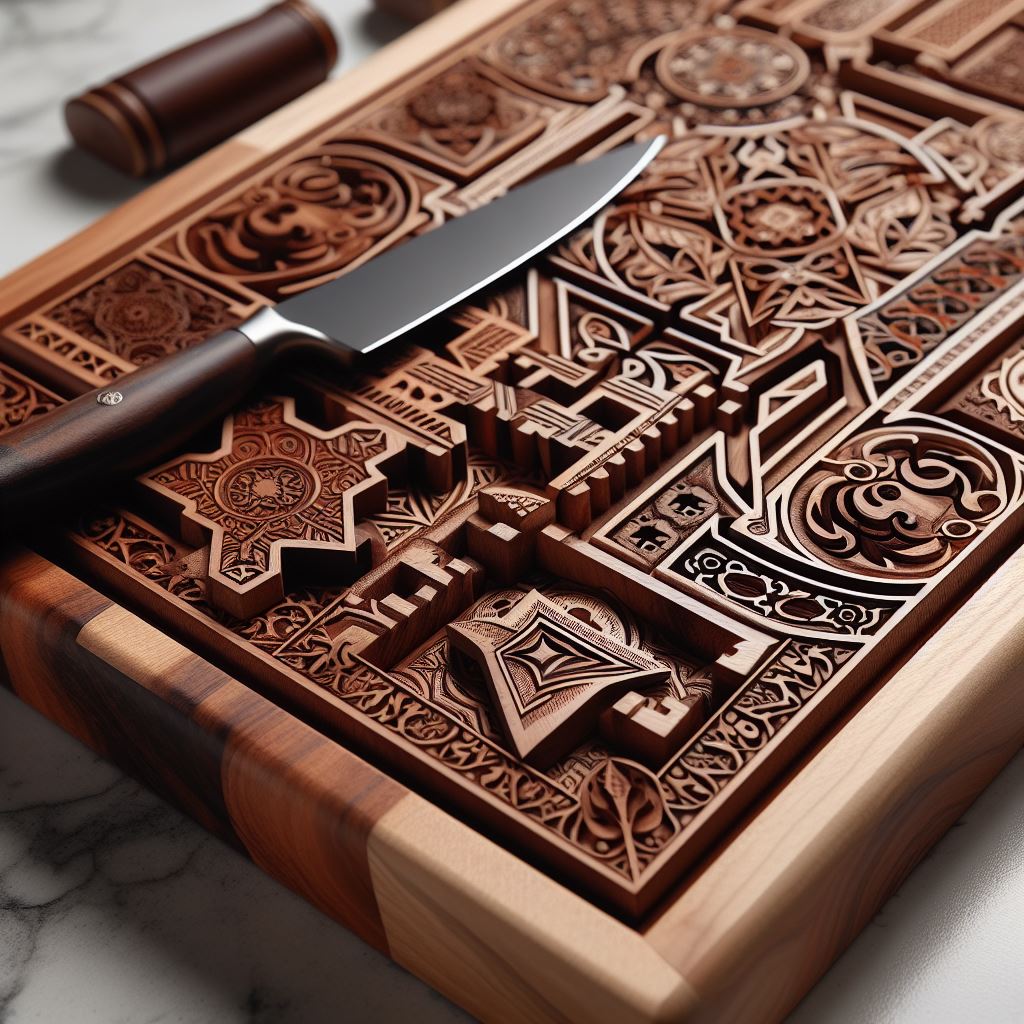
Welcome to the world of personalized home goods, where your kitchen essentials can be as unique as you are! A customized cutting board is not just a functional tool for your slicing and dicing needs; it's also a statement piece that reflects your personal style or tells a story. And with the advent of Cricut machines, creating these personalized pieces has become accessible to everyone.
Whether you're looking to craft a thoughtful gift for a loved one or simply want to infuse your own kitchen with a touch of personality, learning how to make personalized cutting boards with a Cricut is an enjoyable and rewarding endeavor. In this DIY guide, we'll walk you through the process step-by-step, ensuring that even beginners can produce professional-looking results.
If you're curious about custom designs but unsure where to start, send us a message at contact@frawstedcreations.com for custom inquiries and to learn more about what we can offer! Taylor and Tyson at Frawsted Creations are here to help bring your vision to life.
Choosing the Right Materials for Your Custom Cutting Board
Before you dive into the customization process, it's critical to select the right base for your project. The choice of material for your cutting board will impact not only the aesthetic but also the durability and functionality of the final product. Hardwoods, such as maple, walnut, and cherry, are top choices for cutting boards due to their tight grain and ability to withstand knife marks.
When choosing the wood for your cutting board, consider factors like the hardness, grain pattern, and color. Harder woods will resist scratches and dents, preserving the beauty and longevity of your board. Additionally, look for wood that has been sustainably sourced and properly treated for food safety.
Alongside the wood selection, you'll need to choose the right type of vinyl for the Cricut machine. Opt for a high-quality adhesive vinyl that is both durable and food-safe. Remember, the vinyl will be used for decorative purposes and should not come into direct contact with food. For the lettering and designs, select a color and finish that complements the wood and suits the aesthetic you're aiming for.
Preparing Your Design with Cricut Design Space
Once your materials are ready, the next step is to craft your custom design using the Cricut Design Space. This user-friendly software is where your creativity can truly shine. Start by opening the program and setting up a new project. If you're new to Cricut Design Space, take a moment to familiarize yourself with the interface and tools available.
In the design space, you can either upload your own design elements or choose from a vast library of images and fonts. When creating your design, consider the size of your cutting board and adjust your artwork accordingly. Keep in mind that simpler designs often translate better when cut and applied to wood. Use the software's grid lines to ensure that all elements of your design are aligned and evenly spaced.
Once you are satisfied with your design, it's time to proceed to the cutting phase. Ensure that your design is mirrored if it includes text, as this is crucial for transferring the vinyl onto the cutting board correctly. Lastly, click on the 'Make It' button, which will prompt you to prepare your mat and materials for cutting. It's important to select the correct material settings for the type of vinyl you're using to achieve the best cut quality and ease the weeding process that follows.
Applying Vinyl to the Cutting Board: A Step-by-Step Process
With your design cut out, the next stage is the application of the vinyl to your cutting board. Begin by 'weeding' your design, which involves removing excess vinyl around and inside your letters or images. For precision, use weeding tools or a craft knife, ensuring that only the design you want to transfer remains on the backing paper.
Next, apply a piece of transfer tape over your design. This clear tape will help you move the design from the backing paper to your cutting board smoothly. Burnish the tape onto the vinyl to ensure good adhesion, then carefully peel back the backing paper, leaving your design attached to the transfer tape.
Now, position your design on the cutting board, taking care to place it exactly where you want it. This is a critical step, as repositioning the vinyl after it has been placed can be difficult. Once you're happy with the placement, press the design down starting from the center and moving outwards to avoid bubbles. Again, use a burnishing tool or a credit card to secure the vinyl to the board's surface.
Finally, slowly and gently peel the transfer tape away at a 45-degree angle, making sure the vinyl design stays adhered to the cutting board. If any part of the vinyl lifts, lay the tape back down and burnish that area more firmly. Once the tape is removed, your personalized cutting board is ready to be admired and used or wrapped up as a heartwarming gift!
Sealing and Protecting Your Personalized Design
After applying your vinyl design, it's essential to protect it to ensure the longevity of your personalized cutting board. Sealing the vinyl will guard against water damage and general wear and tear, especially since cutting boards frequently come into contact with knives and other kitchen tools.
To start the sealing process, choose a food-safe sealant. There are various options available, such as beeswax, mineral oil, or a combination of both, which are safe for use on surfaces that come into contact with food. Make sure the sealant you choose is compatible with vinyl and won't cause it to peel or bubble.
Apply the sealant according to the manufacturer's directions, typically by pouring a small amount onto the board and spreading it evenly across the surface with a clean, lint-free cloth. Pay special attention to the area around the vinyl design, ensuring that the edges are well sealed. This will prevent water and food particles from getting underneath the vinyl, which could potentially damage the adhesive and design.
Allow the sealant to penetrate the wood for the time specified on the product label, then wipe away any excess. Depending on the sealant used, you may need to apply multiple coats for optimal protection. Always wait for the previous coat to dry thoroughly before applying the next.
Once you have sealed your cutting board, it's important to let it cure for the recommended time before using it. This curing period allows the sealant to harden and provide a durable barrier over your design. After curing, your cutting board is ready to be a functional showpiece in your kitchen or a thoughtful, personalized gift for someone special.
Care and Maintenance Tips for Your DIY Cutting Board
Creating your personalized cutting board with Cricut is just the beginning. Proper care and maintenance are key to preserving the beauty and functionality of your DIY masterpiece. Regular cleaning is essential; wash your board with warm, soapy water after each use, and avoid soaking it as prolonged exposure to water can cause the wood to warp or crack.
Do not put your cutting board in the dishwasher, as the high heat and moisture can damage both the wood and the personalized design. After washing, dry your cutting board thoroughly with a towel and let it air dry completely before storing.
To maintain the wood's integrity and appearance, it's recommended to reapply a food-safe sealant periodically. This will also help to protect your personalized design. If your board begins to show signs of wear or the surface becomes rough, a light sanding followed by the application of mineral oil can restore its smooth finish.
With the right care, your personalized cutting board can last for many years, becoming a cherished part of your kitchen or a gift that continues to bring joy. If you're interested in more detailed care instructions or have any questions about customizing your own cutting board, send us a message at contact@frawstedcreations.com. We're always here to help and to share more about what we can offer!
Remember, a well-maintained cutting board is not only a tool but a piece of art that adds personality to your culinary experiences.